
GameBrief · General
Graveyard Keeper 2 Factory Layout Guide: Build Better
Reviewing
Graveyard Keeper 2
Graveyard Keeper 2 factory layout problems usually start before the first conveyor is built. A workshop becomes hard to use when stations, chests, extensions, and walking routes compete for the same few tiles. This Graveyard Keeper 2 factory layout guide focuses on the parts the current game and its patch notes actually show: directional belts, assembly and workshop stations, moving objects, zombie-operated machines, and the difference between a production lane and a Town delivery lane.
The existing Graveyard Keeper 2 automation guide explains why factories and zombie labor matter to the wider sequel. This guide goes one level more practical. It treats the factory, yard, and workshop as a layout problem, while marking the places where the game or current references still do not publish a definitive number.
TL;DR: Build short, readable lanes. Put a buffer before the first station, leave a straight corridor beside each belt, and give every output a named destination before adding another branch. Keep manual workstations available because the game does not provide a fully documented universal blueprint, and community reports do not confirm a dedicated move command for every placed object.
Graveyard Keeper 2 factory layout: quick answer
The best early layout is a compact one-lane block: input storage, a producing station, the next assembly or workshop station, and an output chest or Supply Station. Keep the belt direction visible, leave room to inspect the machines, and expand sideways into a second block instead of weaving new belts through the first. That pattern follows the verified connection rules without pretending that one blueprint fits every save.
Graveyard Keeper 2 factory layout: key takeaways
- Separate the surface yard and workshop from the underground factory in your planning. They solve different access and automation problems.
- Reserve an input buffer and an output buffer before you place the main station.
- Treat belt arrows and station connectors as functional rules, not decoration.
- Leave space for station extensions, chests, lamps, and a walking route. Recent patch notes specifically mention workstations, chests, extensions, and moving zombies colliding.
- Use a Supply Station for the Town-facing end of a line only when the destination accepts the item you are making.
- Start with one complete batch, then add a splitter or parallel station in response to a real queue.
- Plan every expensive surface placement as though you may have to dismantle and rebuild it. The game does not document a universal move-object workflow.
Overview: what belongs in the yard, workshop, and factory
The store describes Graveyard Keeper 2 as a game about restoring Town, managing the graveyard, automating production, and leading an undead army. That pitch is useful for layout planning because it reveals three different destinations for your work.
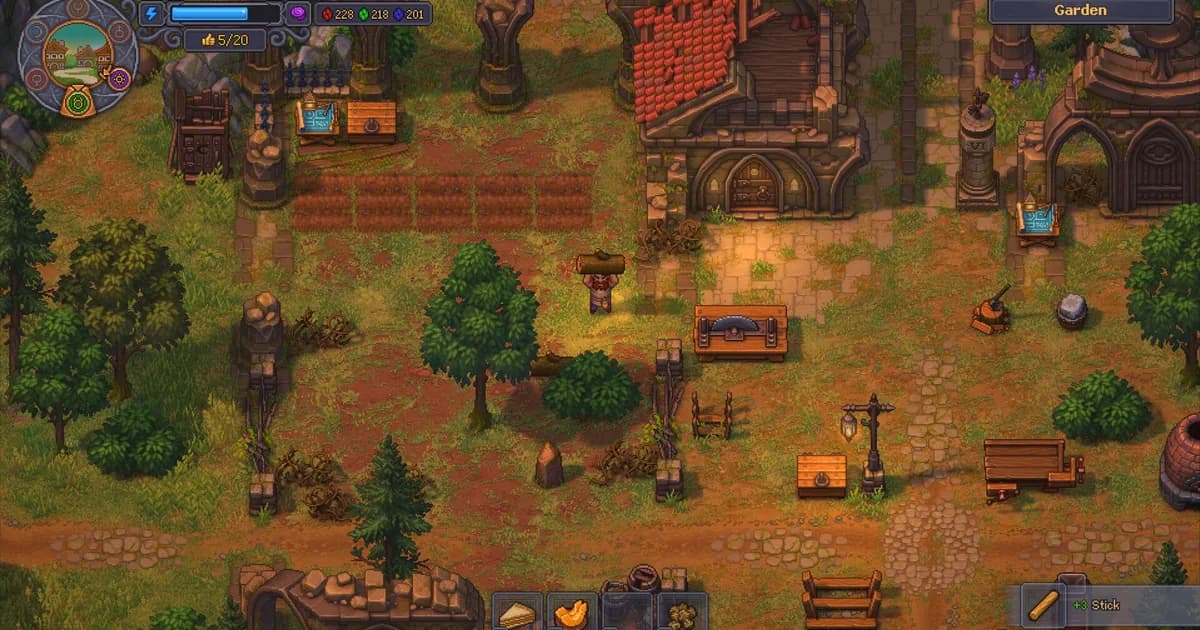
The surface yard and workshop are where you need clear placement space for manual workstations, extensions, stockpiles, and access. The official placement view shows green buildable tiles, red occupied tiles, rotation controls, and several work areas arranged around paths. It is a strong reminder that a workshop is also a walking space.
The underground factory is the conveyor area. Current-build references list conveyor belts, splitters, underground conveyors, conveyor chests, Supply Stations, carousels, assembly benches, Smithies, and other stations. The names establish the available building vocabulary, but they do not prove that every save has every tier unlocked. Let the live tech tree and station menu decide what you can place.
The Town-facing end is different again. A Supply Station and its porter route are for delivery orders, while a conveyor chest is useful as a local buffer or staging point. A finished craft sitting in the wrong kind of storage is not the same thing as a completed Town order. If you want the wider business loop, the Graveyard Keeper 2 review covers how restoration and production fit into the sequel's larger structure.
The current Steam listing describes the game as single-player, so your plan does not need to reserve factory aisles for other players or shared storage traffic. The best base-building colony sim games list gives broader context for why access and expansion space still matter in a solo builder.
Step-by-Step: build a factory lane that can recover
1. Choose the destination before the first belt: Decide where the finished item must go before placing the first belt.
Write down what the line is meant to produce and where the result must go. There are three sensible answers: a local chest for a later manual craft, another station's input, or a Supply Station for a Town order. This small decision prevents the common mistake of laying belts first and discovering that the final station cannot accept the item.
For a first line, prefer a single material with one visible next step. A compact chain is easier to debug than an ambitious network connecting every stockpile. The best indie automation and logistics games guide is a useful comparison if you enjoy thinking in terms of sources, processors, and destinations, but Graveyard Keeper 2 still asks you to respect its own station tooltips.
2. Clear the workshop before you optimize it: Remove the obvious obstructions before committing to a station block.
On the surface, remove rubble and obvious obstructions before deciding where stations belong. Place the largest or least flexible object first, then test the remaining footprint with the build preview. Leave a lane for walking between work areas and do not fill every open tile with decoration or storage. The Subnautica 2 base-building guide is a useful outside comparison for planning around access rather than filling a room immediately.
This is where many base setup plans go wrong. A screenshot can make a dense room look efficient while hiding the fact that an extension blocks a chest or that the player has no comfortable route between two stations. The Valheim base-building guide makes a similar case for building around future access, but the practical rule here is specific: leave the footprint you need to inspect and rebuild a station.
3. Reserve extension space on the correct side: Keep the likely upgrade footprint open until the station preview confirms it.
Workshop stations are not always just their central sprite. The placement preview can show occupied tiles around the object, and current player layouts explicitly mark lamps, hardening bucket extensions, firewood spots, and other omitted footprints. Keep the likely extension side open until you know which upgrade you want.
Recent official patch notes mention a workbench placed on a hatch and fixes for players getting wedged between workstations, chests, and extensions when a moving zombie pushed them. Those fixes are unusually useful layout evidence. They show that object adjacency and moving-worker collisions matter in the live game, even if the notes do not publish a minimum corridor width.
4. Put an input buffer before the first station: Give the line a visible intake and a place to inspect waiting materials.
Start the automated section with a conveyor chest or the storage object the live build allows at that point in your progression. The buffer gives the line a clear intake and gives you somewhere to inspect a material when the next machine appears idle.
Do not assume that putting a chest beside a station creates a connection. Current factory references and player guides describe the belt as the link between storage and a station. Read the connector positions, rotate the belt, and check the arrow direction. If the station has separate input and output points, match the belt to the correct one rather than relying on visual proximity.
5. Keep the first belt short and straight: Make the first test lane easy to read from end to end.
The most reliable early layout is a short line with one change of purpose at each stop:
input chest -> conveyor -> workstation or assembly station -> conveyor -> output chest
The text diagram is not a recipe and does not imply a fixed station order. It is a debugging order. When the first batch stalls, you can inspect the input, belt, worker assignment, recipe, station output, and destination in sequence. A long belt with several bends hides which of those steps failed. The Shapez 2 manufacture mode guide is a useful comparison for players who want to prototype a production shape before committing to a larger build.
If a station's output must become another station's input, align the next station so the receiving connector faces the incoming belt. The factory layout reference used for this guide describes each belt as directional and warns that a belt can look connected while pointing the wrong way. That is a stronger basis for layout advice than guessing a universal tile count.
6. Add the worker and recipe before branching: Prove that one staffed station can finish a batch before splitting the line.
The official developer material says zombies can operate semi-automatic machines in underground factories. It does not publish one worker rule for every station, so use the station's own assignment and recipe display as the source of truth. Assign the zombie, equip whatever the station requests, and let one item complete before placing a splitter or second machine.
This test also tells you whether the problem is layout or production. If the station never starts, inspect the worker, recipe, and power requirements. If the item starts but stops at the next point, inspect the connector and belt direction. If the line finishes but Town progress does not change, inspect the final destination rather than extending the middle of the belt.
7. End Town lines at a deliberate handoff: Decide whether the last stop is storage, another station, or a Supply Station.
Use an output chest when you want a buffer or when the item still needs a manual step. Use a Supply Station when you are building for the Town delivery loop, then confirm that the order accepts the exact item entering it. A player reference reports that an item can stop before a Supply Station when the destination expects a different type. Treat that as a troubleshooting observation, not a universal bug report, and check the live order panel before rebuilding.
The Romestead trading post logistics guide is a helpful parallel for this distinction: production and delivery are separate stages, even when a game draws them as one chain. In Graveyard Keeper 2, keeping that handoff explicit makes it easier to pause an order without dismantling the factory.
8. Test one batch before you build the second lane: Watch the item reach its destination before adding parallel machinery.
Watch a full item travel from the input buffer to its destination. Confirm that the station takes the item, the zombie reaches the workstation, the output leaves the station, and the destination counts it. Only after that should you add a second station, splitter, or parallel belt.
This is also the point to record what the game actually lets you place. Take a screenshot of the live build menu or write down the station name and tier. Do not use an old community list to fill in a missing unlock. The Shapez 2 advanced belt-routing guide goes much deeper into throughput and splitters, but its exact logistics assumptions belong to Shapez 2, not this game.
Three factory layout patterns that stay readable
These are planning patterns rather than guaranteed best setups. They work because each pattern gives the line a clear input, process, and output.
Compact single lane
Use one input chest, one processing station, one assembly or workshop station, and one output destination. Keep the belt mostly straight and leave one side open for inspection. This is the best first layout when you are still learning which stations consume which items.
Parallel workshop blocks
Group manual stations by the material they share, then leave a walking corridor between blocks. Put extensions on the outside edge of a block and keep common stockpiles near the corridor rather than in the center. If one block grows, it can expand into the open side without forcing you to rebuild every other station.
The placement-grid screenshot shows why this pattern is safer than a single crowded room. Stations can be rotated, their occupied tiles are visible, and trees, rocks, and existing objects can turn a visually open area into a blocked footprint. The best base-building colony sim games list is useful inspiration for zoning, but do not import another game's grid rules into this one.
Factory line with a Town handoff
Place the input buffer and processing stations together, then give the output a clear route to the Supply Station. Keep the Supply Station at the edge of the block so a porter or delivery interaction does not force you to walk through the production floor. Use a conveyor chest between the processor and the handoff if the order accepts items intermittently.
This pattern is especially useful for building materials and Town restoration. It keeps the business-facing output visible without turning the entire factory into one shared belt maze. When you later add a second product, duplicate the block and share only the storage or delivery point that you have confirmed can accept both items.
Moving objects, dismantling, and rebuilds
The search phrase “move objects” sounds like a small quality-of-life question, but it should change how you plan the whole yard. Community discussions repeatedly ask for a Move Buildings feature and describe dismantling and rebuilding instead. Those reports do not establish one refund percentage for every object, and some players report different behavior across builds or object types.
The safe rule is simple: do not place a high-cost station on the assumption that you can slide it one tile later. Preview the footprint, rotate it before confirming, and keep one expansion side open. In the factory, current-build references report full refunds for some factory objects when dismantled, but that is not a safe promise for surface stations, extensions, or every patch. Verify the dismantle result in your own save before committing a rebuild.
The official patch history reinforces the need for this caution. Version 1.007 fixed a workbench that could get stuck on a hatch, collisions between moving zombies and workstations, chests, and extensions, and a draw-layer issue at the conveyor supplier station. Those are concrete fixes for concrete placement interactions. They are not evidence that the game supports a general-purpose move command. If you are still deciding whether to buy into the sequel, the Graveyard Keeper 2 review keeps the current game's wider value question separate from this layout advice.
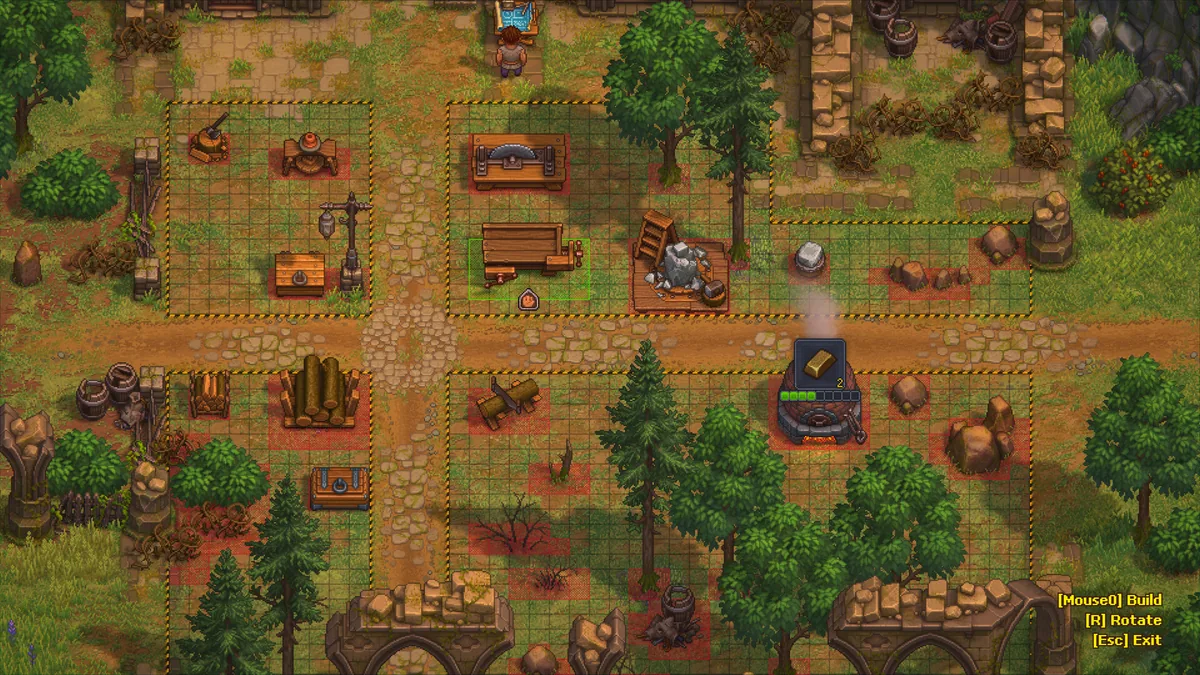
Use the placement preview to reserve occupied tiles and corridors. The grid is a planning aid, not a promise that every object can be moved after construction.
Tips for a better workshop layout
Keep the inspection route visible
A belt that works while you are standing in the middle of it can still be a bad long-term route. Leave one side of the line open so you can read the station, collect a manual output, or reach a worker without walking around the entire room.
Make the bottleneck easy to name
When production slows, say whether the bottleneck is input, worker, station, belt, power, output, or delivery. If every belt crosses every other belt, you will not know which part to fix. A labeled chest and a short lane are better than an impressive but opaque rectangle of machinery.
Do not overbuild for a screenshot
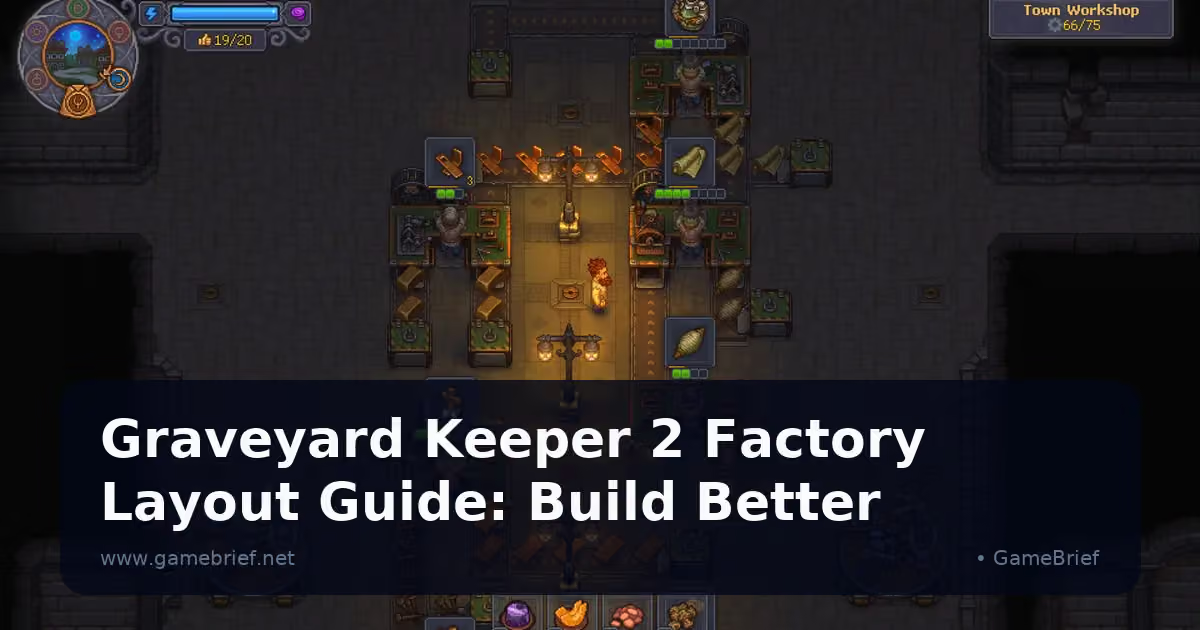
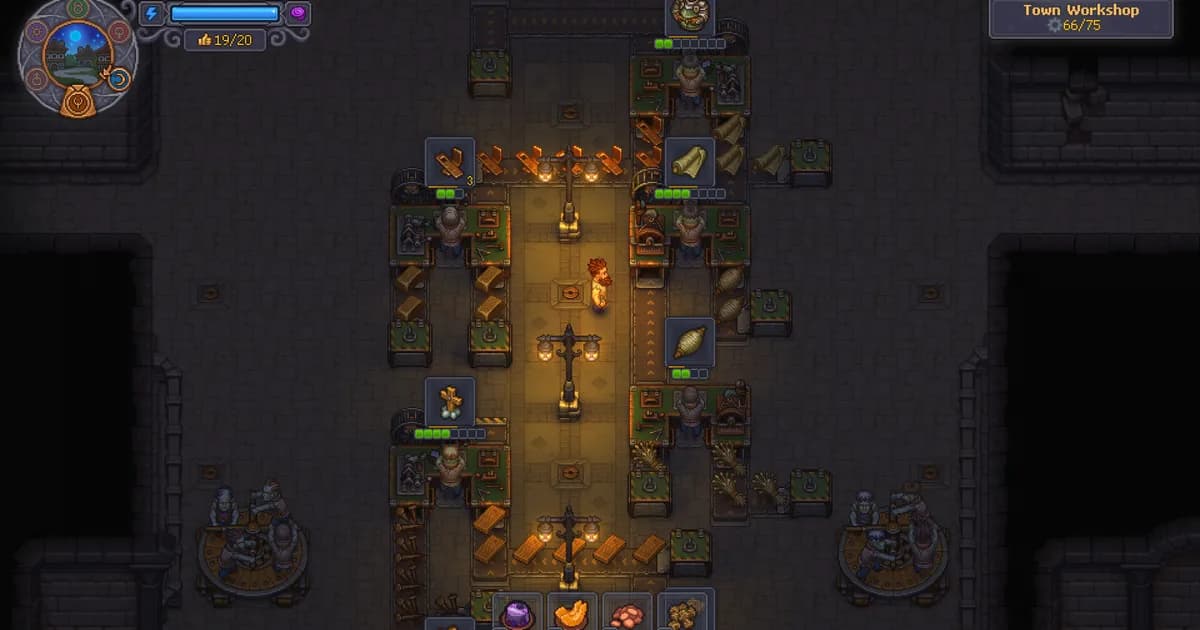
The official Town Workshop image proves that the game supports a busy multi-machine room. It does not prove that maximum density is efficient. Current community layouts even include comments about having more forges than their production needed. Add the second station when the first one has a queue, not because the room looks empty.
Separate manual and automated supplies
Keep a small manual stockpile near surface workstations and a separate input buffer for the factory. That way, a belt test does not consume the material you intended to use for a graveyard repair or workshop upgrade. The All Hail the Orb advanced automation guide uses the same broad principle in a different system: separate the resources needed to keep the loop running from the resources meant for the next build. The Winter Burrow crafting recipes guide is another useful comparison for keeping a working supply route separate from the next unlock.
Leave power and expansion overhead
Factory references identify the carousel as a power object and list power use for parts of the conveyor network. Exact consumption and station requirements can change with patches, so leave physical room for the power object and avoid packing the line against a wall. If you later discover that a branch needs more power, you should have a place to add it without cutting the main route.
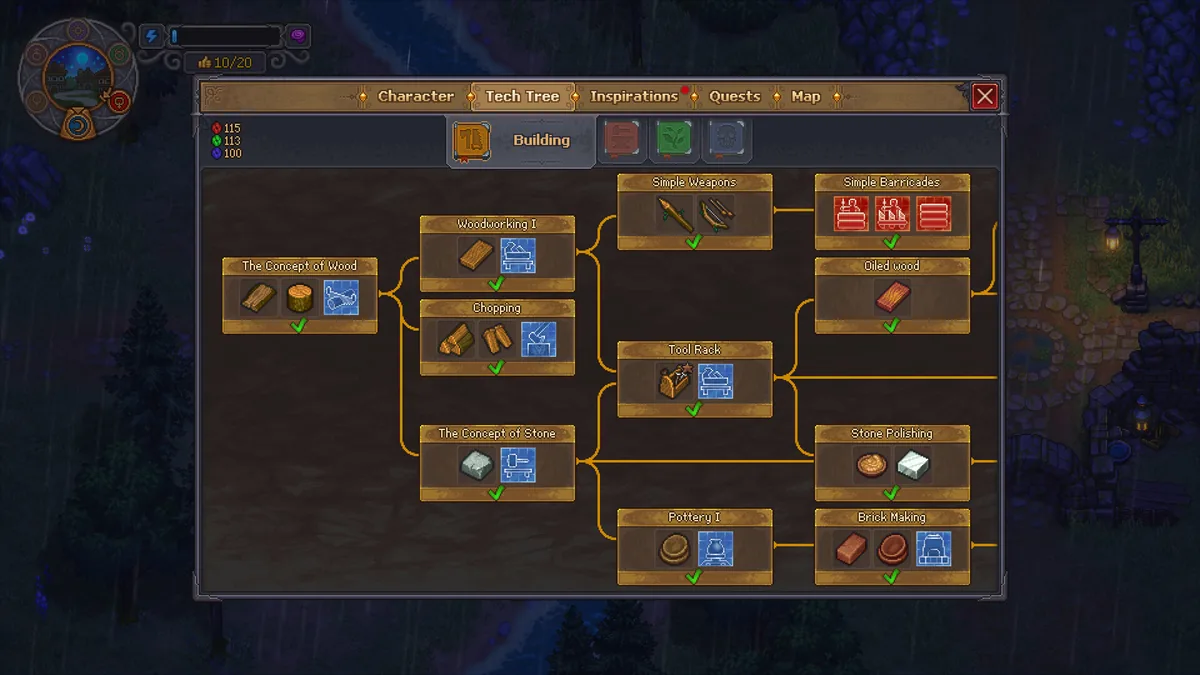
The technology tree is the right place to check whether a station or building tier is unlocked. Do not treat an old layout list as a substitute for the current menu.
Common layout mistakes
Mistake 1: treating adjacency as a connection
A chest beside a station is not necessarily feeding it. Use the belt and the connector it accepts, then watch one item travel through the route.
Mistake 2: ignoring the arrows
The conveyor's direction determines whether an item can reach the next station. If an item sits still, inspect the arrow before demolishing the whole line. The Shapez 2 advanced belt-routing guide offers a useful contrast for players who like to save routing patterns, but its logistics assumptions do not transfer to Graveyard Keeper 2.
Mistake 3: putting every station in one room
The yard, workshop, and underground factory can be planned as separate zones. A manual station does not become more useful because it is directly beside an automated one. Give each zone a job and connect only the materials that need to cross between them.
Mistake 4: building the delivery end first
Supply Stations and Town orders are a destination check, not a universal output socket. Confirm the accepted item, then route the final belt.
Mistake 5: treating “best layout” as a fixed blueprint
The game does not publish a single best setup, exact maximum belt length, universal station spacing, or complete placement refund table. A layout that remains inspectable and repairable is the better target while those details are still patch-sensitive.
Frequently Asked Questions
What is the best Graveyard Keeper 2 factory layout?
There is no verified universal blueprint. Use a short lane with an input buffer, one or two stations, an output buffer, and a clear walking route. Expand into parallel blocks only when the first lane gives you a real bottleneck to solve.
Can you move buildings in Graveyard Keeper 2?
Community reports do not identify a dedicated move command. Treat surface placement as a rebuild decision, rotate objects during the preview, and check the dismantle result in your own save instead of assuming a fixed refund.
How do conveyor belts work in Graveyard Keeper 2?
Belts carry items in the direction shown by their arrows and must meet the station or storage connector that accepts the item. A belt can be visually close and still be functionally wrong, so test a complete batch after every new link.
Do assembly stations need a zombie?
Official development material confirms zombie operation of semi-automatic machines in underground factories. The exact worker, equipment, and recipe requirements are station-specific, so use the live station panel rather than a universal rule.
Should I use a conveyor chest or a Supply Station?
Use a conveyor chest as a local buffer or staging point. Use a Supply Station for a Town-facing handoff when its accepted item matches the order. They solve different parts of the production loop.
Is there a layout planner for Graveyard Keeper 2?
The game provides a placement preview with occupied tiles, rotation controls, and blocked areas, but this guide found no authoritative external planner that captures every current object and extension. A screenshot or rough grid sketch is safer than an outdated blueprint.
Are exact belt lengths and power costs confirmed?
Not consistently in the current public material. Community references list power objects and factory components, while official patch notes confirm specific station and collision fixes. Check the live tooltip for exact costs, limits, and unlocks.
Related Reading
- Graveyard Keeper 2 automation guide: Start here for the sequel's broader factory and zombie-army loop.
- Graveyard Keeper 2 review: See how Town restoration, production, and combat fit the full game.
- Shapez 2 advanced automation guide: Compare detailed belt routing and splitter planning in a logistics-first game.
- Valheim base-building guide: Borrow the useful habit of reserving access and expansion space.
- Romestead trading post logistics guide: Follow a separate production-to-delivery loop with explicit handoffs.
References
- Graveyard Keeper 2 on Steam confirms the Town, automation, factory, and undead-army premise.
- Lazy Bear Games: Graveyard Keeper 2 lists machinery, automation, Town restoration, and zombie troops.
- Official Steam Changelog 1.007 names the conveyor supplier station and records fixes for workstations, chests, extensions, moving zombies, and the PR machine.
- Official Steam post, Where Zombies Feel at Home describes zombies operating semi-automatic machines in underground factories.
- Factory setup guide documents the player-facing conveyor, assembly, carousel, and Supply Station flow. It is a third-party guide, not a developer specification.
- Factory layout reference describes directional belts and marks several layout details as community observations or unknowns.
- Factory mechanics database lists current-build factory object names and labels itself as an unofficial reference.
- Workshop layout discussion shows players planning around station extensions and omitted footprints.
- Move-buildings discussion records the community's lack of a dedicated move workflow and conflicting refund reports.
Was this guide helpful?
About the author

Games Critic
Games writer and reluctant optimist who has reviewed over 400 titles across 9 years. Irish, currently in Berlin. Has strong opinions about tutorial design.
- 400+ games reviewed across 9 years
- Platformer and horror specialist
- Narrative design focus
Keep reading
Graveyard Keeper 2 Multiplayer: Is There Co-op in 2026?
General · 15 min

Graveyard Keeper 2 Achievements Guide: All 38 Listed
General · 14 min
Graveyard Keeper 2 Automation Guide: Build Smarter
General · 11 min
Graveyard Keeper 2 Review: A Bigger, Stranger Keeper
General · 9 min
Emberward Guide: Maze Builds and Tower Priorities (2026)
General · 20 min

5 Best Far Far West Mods for Build 0.2.0.20 (2026)
General · 12 min

Disclaimer
This article is published for informational and entertainment purposes. It does not constitute professional financial, legal, or technical advice. Game performance, online services, patch schedules, and store listings change. Verify critical details (pricing, system requirements, regional availability) with publishers and storefronts before you buy. Affiliate links, where present, help support our editorial work and are labelled in our affiliate disclosure.
Comments
Loading comments…