
GameBrief · General
Graveyard Keeper 2 Guide: First Hours in Order (2026)
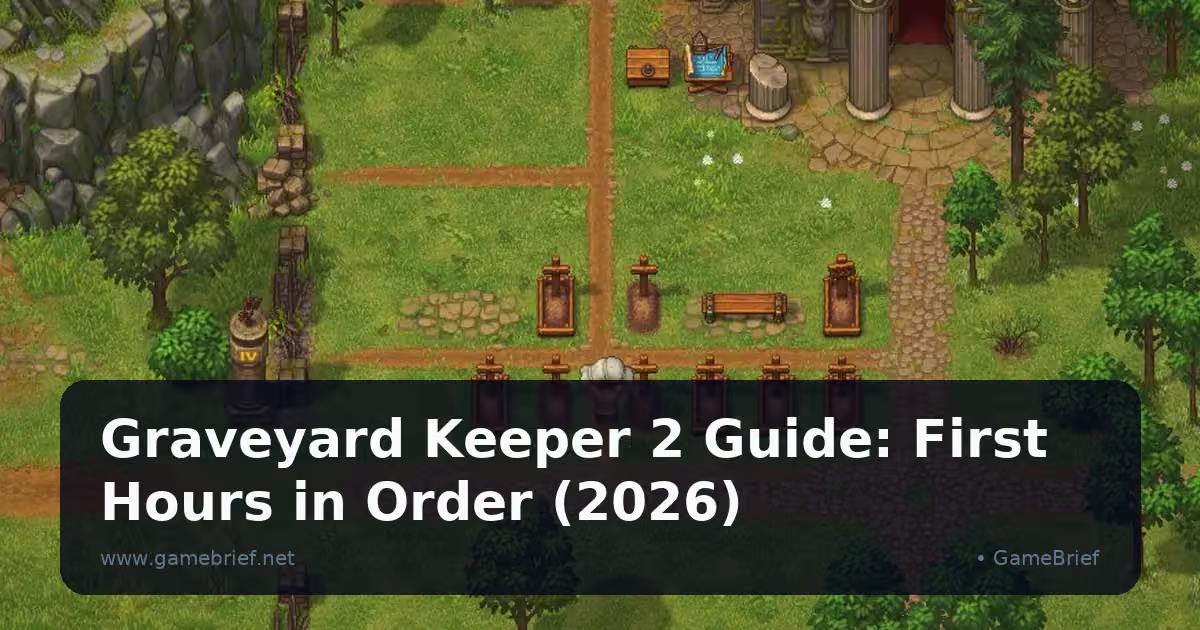
Reviewing
Graveyard Keeper 2
Lazy Bear Games · tinyBuild
Graveyard Keeper 2 guide planning is easiest when you treat the first hours as a sequence, not a checklist. Stabilize food and sleep, make the graveyard functional, learn the manual workshop loop, then follow the Town and automation branches once you have enough context to understand what they consume. This order keeps early materials useful instead of scattering them across every new system.
TL;DR: Start with survival basics and a dependable manual workstation. Process bodies and finish graves before chasing a perfect cemetery. Run the church, quest, and reputation branches in parallel, then open the Town Warehouse when the port is ready. Begin automation with one bottleneck and keep a manual fallback until the factory proves reliable.
What should you do first in Graveyard Keeper 2? (quick answer)
In your first sessions, establish a loop of food, sleep, body processing, graveyard maintenance, and one or two useful workshop recipes. The graveyard is the first system that punishes unfinished work, while the workshop turns gathered materials into the tools and goods that let the rest of the map open up.
Once the basics are stable, follow the connected quest route toward the church, the Town, and the port. Add automation after you know which manual job is the bottleneck. The Graveyard Keeper 2 review handles the broader question of what the sequel is trying to be; this page stays focused on what to do next.
Key takeaways for new Keepers
- Food, sleep, and energy determine how much useful work one visit can contain.
- Insanity is a second work constraint, especially after repeated digging, autopsy, or graveyard tasks.
- A complete grave is more useful than a scattered pile of upgrades. Handle body quality, markers, and decorations together.
- Keep manual production available while you learn which inputs the workshop and Town actually consume.
- Follow reputation quests and church progression in parallel rather than waiting for one branch to finish completely.
- Town Warehouse orders are packaged-crate jobs with a weekly Pride-day timing loop.
- Automation should remove a known repeat task. It should not become a new maze before you understand the manual version.
The right first-hours order
The game does not present its progression as rigid chapters, and you should not play as if every system has to be completed before the next one starts. A better order is a set of priorities that overlap without competing for every resource at once.
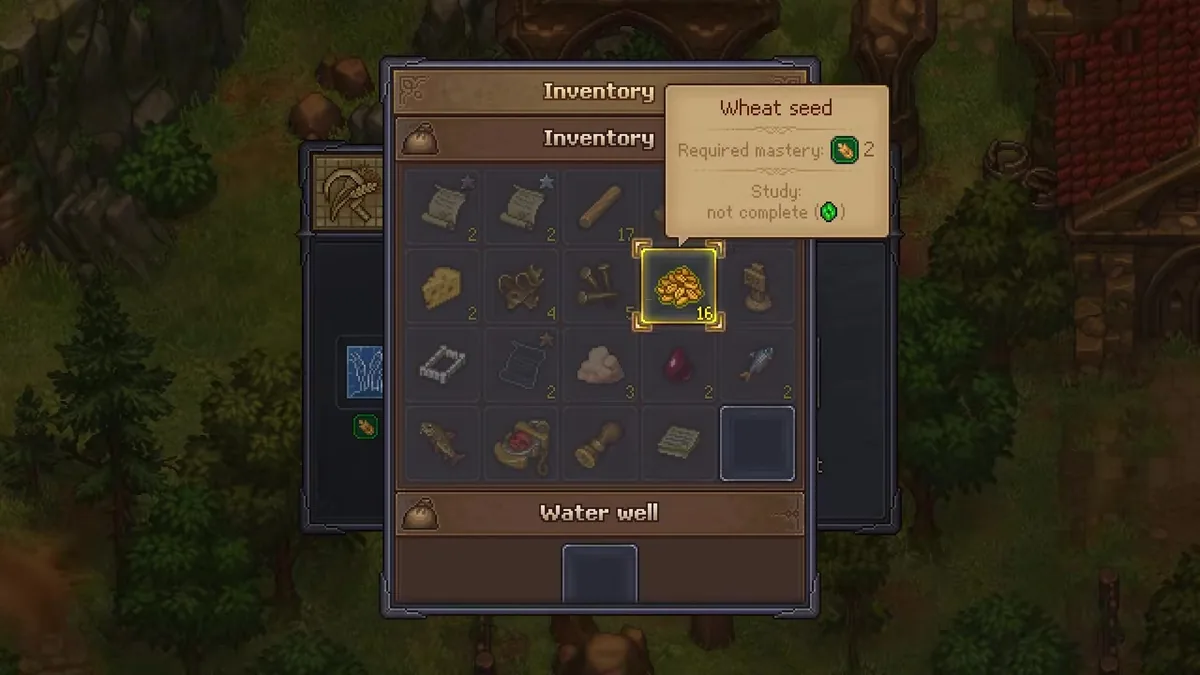 The early cemetery is a work site first. A clear path, a finished grave, and a manageable body queue matter more than decorative perfection.
1. Stabilize food, sleep, and movement
Use the opening area to learn where food comes from, where you sleep, and how long a trip between the home, morgue, graveyard, and workshop takes. Manual work spends energy. Food and sleep restore it, while repeated grim tasks can raise insanity and make the workday less forgiving.
The practical habit is simple: eat before you start a long chain, sleep before you are completely empty, and leave enough energy for the walk home. A full inventory is not a successful day if you end it stranded beside a station with no energy to finish the job. Drinks and other recovery options can help with insanity, but do not invent a perfect consumable schedule before you know what your current stations offer.
2. Make the first body and grave useful
The graveyard is not only a destination for finished corpses. It is an early quality system. A body's skull values interact with its marker and decorations, and an open or unfinished grave harms the yard. Process what you can, place the body in a complete grave, and improve the visible parts of the site when the workshop can support them.
The first-week data route points to a small, achievable graveyard target rather than a late-game display. Early graves can use basic Wooden Signs, and the first quality goal is modest. That is useful because a beginner does not need to build every decoration immediately. You need a clean baseline that stops the graveyard from generating avoidable penalties while the wider quest map opens.
Do not leave a body in limbo because a higher-quality autopsy result sounds attractive. If the extra work would leave an empty grave or consume the only material needed for a basic marker, finish the stable version first. You can improve the yard as your workshop expands.
3. Learn one manual workshop loop
The workshop is your translation layer between gathering and progression. Pick one short chain that answers a current need: a grave marker, a food item, a basic tool input, or a station component named by an active quest. Read the station tooltip and note the required material, research state, and output.
This is also where the game teaches you not to trust a resource name in isolation. A log, processed board, kit, metal component, and supply crate may all look like steps in one chain, but they are different inventory objects. Craft one copy manually and confirm where it lands before you gather a large stockpile.
The Shapez 2 automation guide is a useful comparison if you already think in belts and buffers. Apply the same clarity here, but let the live tooltip decide the recipe.
The Winter Burrow crafting recipes guide is another useful comparison for the same reason: the finished object matters more than the first raw input you recognize.
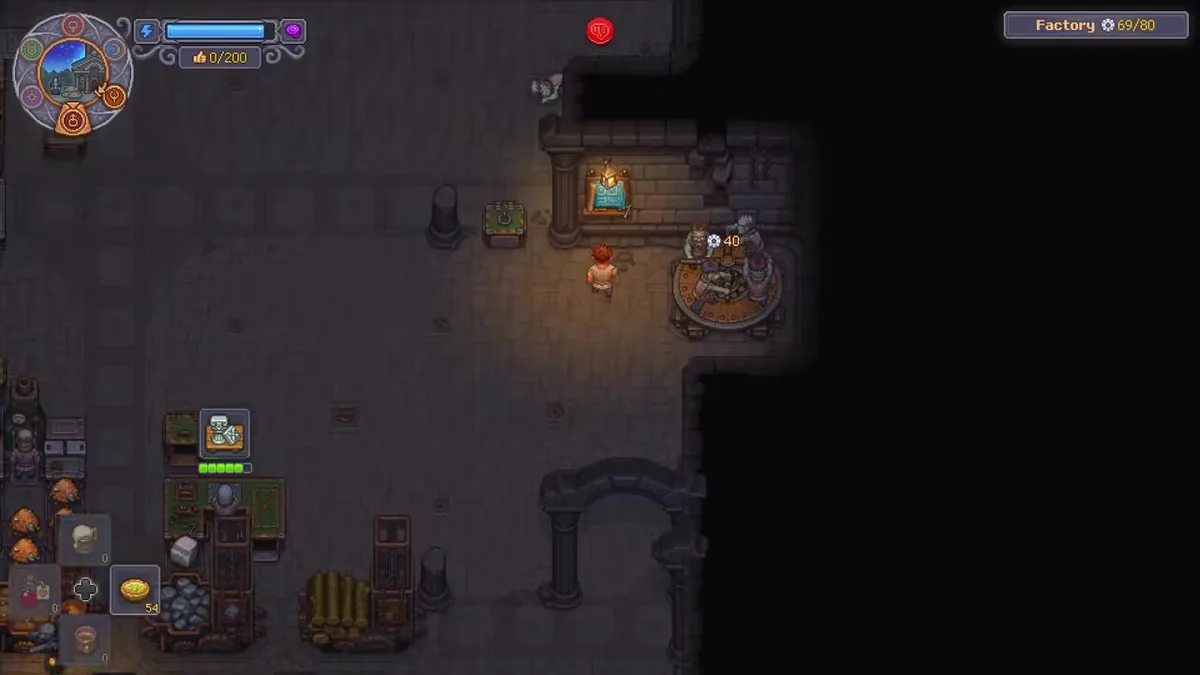 An item screen exposes both a material requirement and a station context. Read that information before turning a small early stockpile into a guess.
4. Run church, quest, and reputation branches together
The verified progression data connects the early main route through tasks such as Dust in Kitchen, What the Fairy?, Good Fellow, Dungeons, Supply and Demand, and Jack in a Boat. Parallel entries cover church and combat work, including Certificate, Please, Grave Expectations, Fighting Spirit Required, and later fighting tasks.
You do not need to memorize those names as chapters. Use them as a map of the dependencies. If a quest points toward the church, work on the graveyard and faith route. If another points toward a character, gather the material for that character without abandoning the workshop. Village reputation and personal reputation are not the same number, so read the reward text rather than assuming every quest is Town progress.
The goal is to keep three kinds of progress moving:
- cemetery quality, so bodies and graves stop creating preventable problems;
- research and workshop capacity, so basic inputs become usable goods;
- quest and reputation gates, so the church, port, Town, and later factory path can open naturally.
That three-track rhythm is also useful in the Romestead survival tips guide, where protecting the next necessary input matters more than clearing every available task.
5. Enter the Town with a material plan
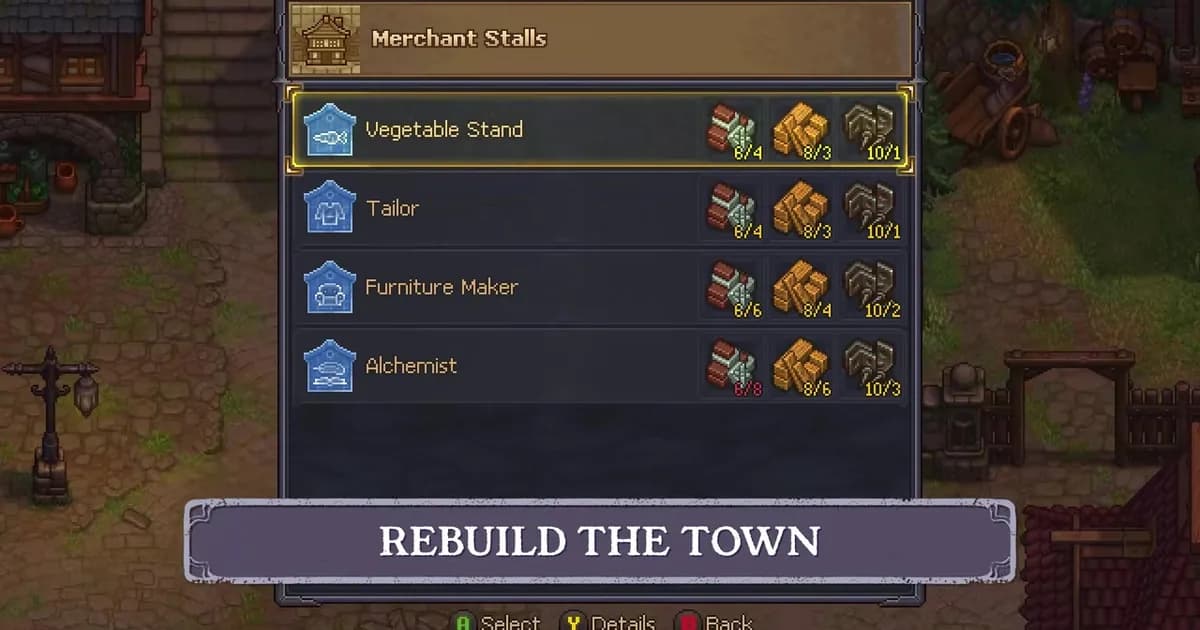
When the port and Town systems become available, resist the urge to accept every visible project. Town restoration uses materials that may also be needed for your workshop, graveyard, or a quest. Read the building requirement, then decide whether the reward is a permanent shop, a quality step, a reputation threshold, or a time-sensitive warehouse order.
The Graveyard Keeper 2 town approval guide explains the terminology in detail. The short version is that houses, Green Scrolls, town quality, Town Gratitude, happiness, reputation, and supply crates are different pieces of the Town loop. Knowing that before you spend your first batch of materials is worth more than memorizing a rigid build order.
6. Use the Town Warehouse deliberately
The Town Warehouse order board runs on a Pride-day cycle. Take a request when you can craft the requested supply crate and deliver it before the next tally. A raw input does not satisfy a packaged Supply: request, and a Building Kit is not automatically the same thing as a Building materials crate.
The order system is a good mid-early-game habit because it teaches planning without demanding a full factory. Pick one crate, identify every station it needs, and leave enough material for the next graveyard or quest step. If you cannot make the full order in the current cycle, skip it or keep gathering instead of filling storage with half a plan.
7. Start automation with one bottleneck
The Factory is where the game can turn repeated production into a larger system of machinery, conveyors, and zombie work. That does not mean the first factory layout should contain every chain. Start with the task you repeat most often, make its input and output readable, and keep one manual station available while you test the automated lane.
The existing Graveyard Keeper 2 automation guide goes deeper on factory lanes and Town defense. For a beginner, the important rule is to automate a proven need. If you cannot describe the manual recipe, the input storage, and the output destination, you are not ready to scale that chain safely.
Graveyard Keeper 2 beginner tips that save time
Finish a small job before starting five large ones. A complete grave, a useful food batch, or one workshop component gives you feedback. Five half-built projects only hide which material is blocking you.
Keep a reserve of basic inputs. Early wood, food, and metal can appear in several quest or station requirements. Spend what the active task needs, but do not empty every storage slot for one attractive Town project.
Read tooltips twice. The first pass tells you what the item is. The second reveals the station, research, or quality condition that makes it useful. This matters even more once supply crates and kits appear.
Use the map as a route, not a list of destinations. Combine the morgue, graveyard, workshop, and nearby gathering into one trip when energy allows. Travel is part of the early economy.
Treat reputation as a gate. Reputation is checked, not spent. If a character has a personal requirement, do not assume a village-reputation quest will satisfy it.
Update before diagnosing delivery trouble. The current official 1.007 changelog includes a fix for iron supply delivery quests getting stuck. A pre-patch save may not behave like the current build.
Leave army planning for later. The official combat material confirms Town battles, defensive structures, zombie fighter squads, banners, waves, and control points. It does not give a beginner a complete squad roster or universal composition, so build the production base first.
The same principle applies to a larger production base in the All Hail the Orb automation guide: scale only after the first repeatable loop is legible.
Common first-hours mistakes
Rushing automation before understanding inputs. A belt cannot rescue a recipe you have not identified. Make the item manually, observe where it is stored, and then decide whether the repeated trip is worth automating.
For a broader base-planning comparison, see the best base-building and colony sim games guide. The shared lesson is to make the next bottleneck legible before adding another layer.
Chasing cemetery decoration before closing the body loop. A beautiful graveyard with an unprocessed body or an open grave is still creating work. Stabilize the baseline quality first.
Spending every material on Town buildings. Town restoration is the long destination, not the only early expense. Keep enough food, marker, and workshop material to finish the next active task.
Assuming all reputation is shared. Gunter's reputation, village reputation, and other character standing can unlock different things. Read the label attached to the requirement.
Accepting a warehouse order without checking the clock. A crate request is a timed commitment. If you cannot finish the full package before the next Pride-day tally, it is not an efficient first-hours project.
If your playstyle leans toward survival pressure, the Tainted Grail survival tips guide offers a useful parallel rule: keep one reserve for the next emergency instead of converting every material immediately.
Step-by-Step: your first practical route
1. Establish food and sleep: Find one dependable food source, identify your bed, and learn how far the main work sites are from home.
2. Process and bury the first bodies: Keep the morgue and graveyard moving, complete each grave, and use basic markers before chasing decorative upgrades.
3. Choose one workshop chain: Craft a real item manually, read its tooltip, and keep the required input visible in storage.
4. Advance the church and quest route: Follow the active character and church tasks in parallel, separating personal reputation from village reputation.
5. Enter Town with reserves: Inspect shops, houses, and requirements, but protect the food, graveyard, and workshop materials that keep your daily loop running.
6. Try one warehouse crate: Accept a Pride-day order only after confirming the full recipe, delivery place, and next tally.
7. Automate one repeat task: Build a small factory lane after a manual bottleneck is proven, and keep a manual fallback until the output is dependable.
Frequently Asked Questions
What should you do first in Graveyard Keeper 2? Secure food and sleep, learn one manual workshop chain, process the first bodies, and complete the graves. Then continue the church, character, and Town quests without spending every early material on one ambitious project.
How do you improve the graveyard early? Process bodies carefully, complete each grave, and improve markers and decorations as your workshop allows. Grave quality combines the body's skull values with its grave furnishings, so an unfinished grave should be fixed before cosmetic expansion.
How do you manage energy and insanity? Eat before long sessions, sleep when energy is low, and watch insanity after repeated grim work. Food and sleep restore energy, while drinks and other recovery options can address the second pressure when the current build makes them available.
When should beginners visit the Town? Follow the connected quests until the port and Town systems open. Then inspect requirements and plan one restoration job at a time. The Town is more useful when you arrive with a workshop reserve instead of an empty inventory.
When should you start automation in Graveyard Keeper 2? Start after a manual task has become a repeatable bottleneck. Build one clear production lane, identify the input and output storage, and keep the manual station available until the automated route is proven.
Should you rush the factory in Graveyard Keeper 2? No. The factory becomes valuable when it removes a known repeat task. Rushing it before you understand the manual recipe can create more queues and missing inputs than it removes.
Is the Graveyard Keeper 2 review the same as this guide? No. The review covers the broader sequel verdict and launch context. This page is an ordered first-hours route through energy, graveyard work, the workshop, Town systems, the warehouse, and cautious automation.
Related Reading
- Graveyard Keeper 2 review: The broader launch verdict and the sequel's major systems.
- Graveyard Keeper 2 town approval guide: A glossary for reputation, Town Gratitude, quality, supplies, and the Builder.
- Graveyard Keeper 2 automation guide: Factory and undead-army guidance after the first-hours route.
- Shapez 2 tips guide: Another beginner route built around readable production chains.
- Best indie automation and logistics games: Broader context for the factory side of the game.
References
- Graveyard Keeper 2 on Steam: Official feature description for the graveyard, Town, automation, and undead army.
- Graveyard Keeper 2 official page from Lazy Bear Games: Developer overview of the connected systems.
- Official Steam announcements: Combat explanation and current 1.007 fixes.
- Graveyard Keeper 2 first-week guide: Current data reference for early graveyard, food, energy, and first-week priorities.
- Graveyard Keeper 2 walkthrough data: Current quest dependency order used for the route.
- Energy mechanics data: Current data reference for energy, sleep, food, and insanity.
- Graveyard mechanics data: Current data reference for grave quality and unfinished-grave penalties.
- Factory data: Current data reference for the factory, conveyors, and zombie production.
- Official launch trailer: tinyBuild's release video used for the article's gameplay frames.
Was this guide helpful?
About the author

Games Critic
Games writer and reluctant optimist who has reviewed over 400 titles across 9 years. Irish, currently in Berlin. Has strong opinions about tutorial design.
- 400+ games reviewed across 9 years
- Platformer and horror specialist
- Narrative design focus
Keep reading

Graveyard Keeper 2 Patch Notes: Updates Through 1.007
General · 11 min

Graveyard Keeper 2 Calendar and Workshop Hours Guide 2026
General · 13 min

Graveyard Keeper 2 Release Date, Price, and Platforms
General · 11 min

Graveyard Keeper 2 PR Machine Guide: Unlock and Use It
General · 17 min
Graveyard Keeper 2 Town Approval Guide: What It Means
General · 15 min
Graveyard Keeper 2 Achievements Guide: All 38 Listed
General · 14 min

Disclaimer
This article is published for informational and entertainment purposes. It does not constitute professional financial, legal, or technical advice. Game performance, online services, patch schedules, and store listings change. Verify critical details (pricing, system requirements, regional availability) with publishers and storefronts before you buy. Affiliate links, where present, help support our editorial work and are labelled in our affiliate disclosure.
Comments
Loading comments…