
GameBrief · General
Graveyard Keeper 2 Automation Guide: Build Smarter
Reviewing
Graveyard Keeper 2
Lazy Bear Games · tinyBuild
This Graveyard Keeper 2 automation guide is built around a useful launch-day distinction: the official sources confirm the shape of the factory and army systems, but they do not yet publish every recipe, unlock gate, or combat stat. You can still make smart early decisions. You just need to build around the systems the game actually documents instead of copying a demo-era number and treating it as law.
The Graveyard Keeper 2 review covers the wider sequel and its launch reception. This guide narrows in on the two additions that change how the game is played: conveyor-belt production and Town defense with undead fighters.
TL;DR: Start with one compact production lane, keep a manual version of important work available, and expand only after you understand the live station tooltips. Official combat notes confirm Town street arenas, a weekly battle cadence, barricades, towers, zombie fighter squads, banners, waves, and control points. They do not confirm exact recruit conditions, squad caps, recipes, or button mappings, so this guide labels those gaps instead of filling them with guesses.
Graveyard Keeper 2 automation guide: the quick answer
The automation system in Graveyard Keeper 2 combines machinery, conveyor-belt factories, and zombie-based production. The official store page describes the goal as building a scalable and profitable operation, while a developer Steam post calls conveyor-belt factories one of the sequel's completely new mechanics. That is enough to establish the core loop: materials enter a planned workspace, machines process them, and the output supports cemetery work, Town restoration, or defense.
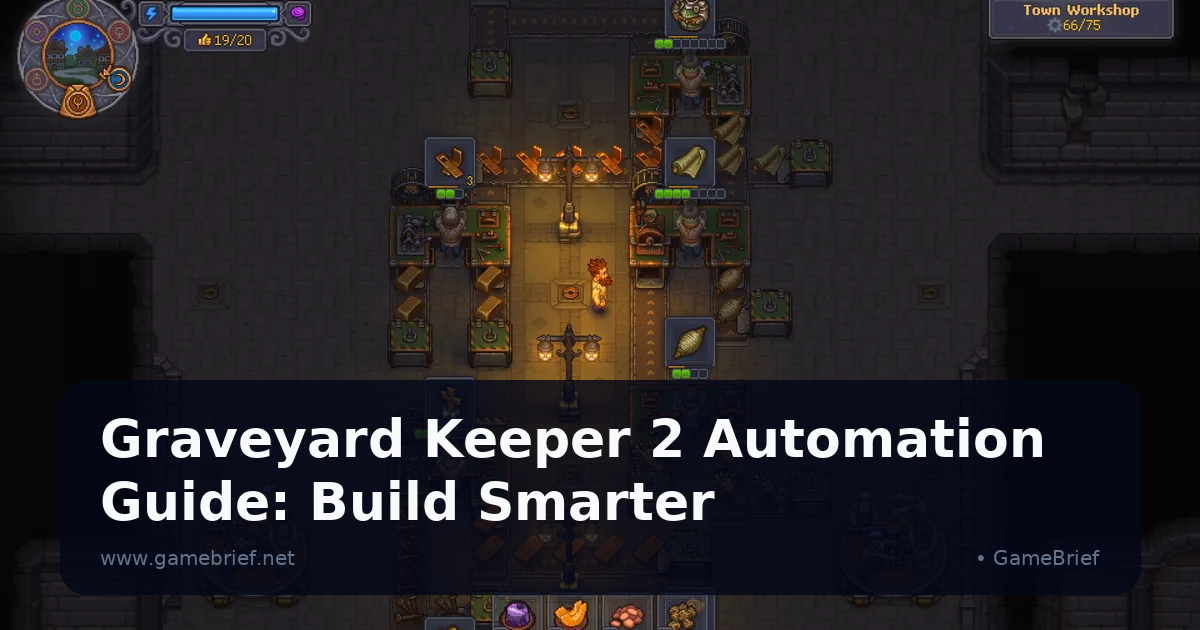
What the sources do not establish is just as important. There is no official launch table for every station prerequisite, exact zombie worker condition, optimal belt layout, production speed, or late-game chain. The Town Workshop screenshot shows belts connecting machines and moving visible resources, but a screenshot is not a substitute for a recipe database. Use the principles below to make a resilient first layout, then let the live in-game tooltip decide what unlocks next.
Key Takeaways
- Conveyor-belt factories and zombie-based production are confirmed new sequel systems.
- Treat your first factory as one test lane rather than a giant all-purpose complex.
- Keep manual workstations available until the automated chain proves it can recover from an empty input or full output.
- Town restoration is the reason to scale production. The official launch post frames the settlement as something you rebuild, fortify, and defend.
- Town battles use street arenas, defensive structures, zombie fighter squads, banners, waves, and control points.
- The official combat post says city battles happen on a certain weekday and the sewers remain available on all six days.
- Official sources do not confirm an exact zombie recruitment route, universal army tier list, squad limit, or controller mapping.
Overview: What the Official Sources Confirm
Graveyard Keeper 2 is not just the first game's graveyard with a bigger map. The store page places four jobs next to each other: restore the Town, manage the graveyard, automate production, and lead an undead army into battle. Lazy Bear Games' own overview adds machinery, expanded cemetery work, fortifications, armor and weapon crafting, and trained zombie troops.
The official Steam development history gives that pitch more weight. The Old World post describes zombie battles and conveyor-belt factories as completely new mechanics while stressing that the sequel keeps the spirit of the original. The combat post explains where those battles happen and what a player can build around them. Together, these are strong sources for a systems guide because they describe the mechanisms rather than merely listing genre tags. The broader indie automation and logistics guide is useful context for the factory audience, while the Tales of Seikyu crafting guide and Tales of Seikyu review show how a more traditional cozy sim teaches its material loop.
The information is still high-level. The launch posts are announcements, not a wiki. They explain that a factory can be automated and that zombies can fight, but they do not tell us that a particular corpse quality unlocks a particular worker, that a named station always needs a named tool, or that one squad composition wins every arena. Those details may become clear through the in-game interface and community testing, but they should not be presented as official facts before that happens.
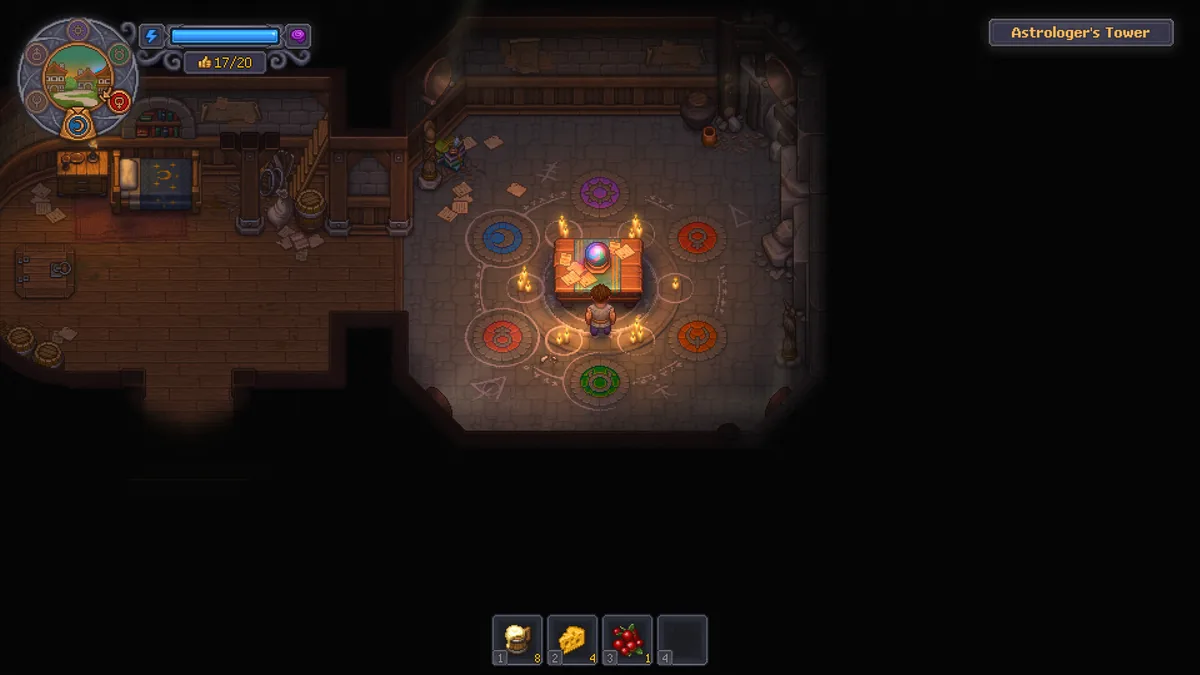 The Astrologer's Tower screenshot shows the sequel's research and progression atmosphere, not a published automation recipe. Read the live station requirements before committing materials.
Step-by-Step: Build a Safe First Production Lane
This route is deliberately conservative. It gives you a way to learn the system without claiming that an unverified recipe order is the only correct opening.
1. Start with one input and one output: Pick a single material lane that supports a current Town or graveyard need. Place the machines and storage close together, and do not begin by trying to connect every resource in your inventory. A small lane makes a missing input obvious.
2. Read every station tooltip: Before you spend a rare material, check the live requirement shown by the station, tech tree, or build menu. Official posts do not provide a complete recipe list, and requirements can change with a patch. Record the exact wording for your own save instead of trusting a screenshot from a different build.
3. Leave a manual fallback: Keep the hand-operated version of a high-value task available while the factory is being tested. If an input runs dry or an output backs up, you want to keep restoring the Town rather than waiting for a new unlock. This is a planning recommendation, not a claim that the game requires a specific backup station.
4. Give the lane room to breathe: Leave clear walking and placement space around machines, belts, chests, and access points. The official build view makes placement a real part of the loop. A compact factory is good; a factory so tight that you cannot inspect a machine is not.
5. Test one completed batch: Watch a complete input-to-output cycle before adding another branch. Confirm what the game considers an input, where the output appears, and whether a zombie or another assignment is involved. The official sources confirm zombie-based automation, but they do not publish the exact worker behavior for every station.
6. Connect output to Town progress: Use the first reliable lane to support a named restoration or defensive objective. Town restoration is not decorative filler in the launch pitch. The settlement is the place that later needs fortifications, equipment, and a fighting force.
7. Expand only after a bottleneck appears: Add a second machine when the first lane has a visible problem, such as a full output, an empty input, or a material that is consistently waiting. This keeps the factory legible and gives you a reason for every belt instead of creating a maze before the economy can support it.
The order is intentionally less glamorous than a perfect late-game blueprint. That is the right trade at launch. If the official game data does not tell us the exact best chain, a robust layout that can be inspected and repaired is more useful than a confident but fabricated tier list. The Winter Burrow crafting recipes guide is a useful comparison for players who prefer to see every material route written down, while Beastro's cooking tips shows how a tight recipe loop can stay readable even when the presentation is busy. The Tales of Seikyu gift and crafting guide is another reminder that storage and relationship goals can compete for the same early resources.
GODEEPER: If belt routing is the part of this system you enjoy most, our Shapez 2 advanced automation guide goes deeper on throughput, splitters, and lane planning in a game built entirely around logistics.
How Automation Works in the Launch Material
The confirmed system has three layers. First, Graveyard Keeper 2 gives you machinery and workspaces. Second, conveyor belts turn those workspaces into a connected production floor. Third, zombies provide the strange labor fantasy that makes the operation feel like a sequel rather than a generic factory builder.
The store page's wording supports a scalable operation, which means the player is expected to think beyond one craft at a time. The Town Workshop screenshot shows the visual language clearly: several machines sit around a corridor, resource icons appear over stations, and belts run through the room. It is excellent evidence for the existence of the factory layout. It is not evidence for a universal belt direction, a fixed tick rate, or a hidden priority order.
Use that distinction when planning. Put related stations in a readable block. Separate raw inputs from finished outputs. Leave a place where you can pause and inspect a machine. Keep enough manual capacity to finish a quest or repair a shortfall. If the game later reveals a more efficient worker or station arrangement, a readable first layout is easier to rebuild than a sprawling factory whose logic you cannot remember. The Valheim base-building guide makes the same protected-workspace argument from a survival angle, and the Creature Kitchen review is a good comparison for a game whose charm depends on turning a narrow production task into a complete identity.
Zombie labor should be treated as a system to verify one station at a time. Official sources confirm zombie-based automation, but they do not tell us whether every station accepts the same worker, whether quality changes speed, or whether assignments are gated by a particular Town milestone. Until the live tooltips or an official patch note answer those questions, avoid advice that names exact corpse requirements or promises a perfect worker grade.
This is the same reason to resist importing a fan wiki's early-build numbers into a launch guide. Community documentation can become valuable quickly, but a page written against the demo or an earlier build may preserve old labels and old gates. The honest early-game tip is to verify the current station, not to pretend a release-day source gap does not exist.
Undead Army: What the Official Combat Notes Verify
The undead army is a Town-defense system, not a generic roster screen. The official combat post says battles occur in streets and distinct arenas with different win conditions. Town Square can send waves from every direction. Central streets can press across multiple fronts and ask you to capture control points. That gives the army a positional job before it gives you a composition puzzle.
The official defensive tools are specific. You can build barricades and towers. You can position squads of zombie fighters. You can raise a banner and lead the force yourself. The developer uses all-archer squads, spiked barricades, and combat potions as examples of how a defense might be assembled. Those examples prove that the game supports different roles and preparation choices. They do not prove that archers are always best, that a barricade has a particular health value, or that every arena rewards the same formation.
The schedule matters. The combat notes say city battles take place on a certain day of the week, while the sewers are open on all six days. That makes the sewer route the confirmed practice and pressure-release option in the public documentation. Use the available days to learn the combat interface and observe what the game asks you to defend, but do not assume the post has disclosed every unlock or reward.
The same post says mouse-and-keyboard combat can be controlled with one hand. That tells us the control philosophy, not the exact key map. Since the official material does not list button assignments, this guide will not invent a hotbar order or claim that a particular key issues a squad command. Check the current settings and on-screen prompts in your build. Players who enjoy comparing settlement scale can also use the Brave New Wonders preview as a counterpoint, because it treats town development as a broader strategic question rather than a factory-only puzzle.
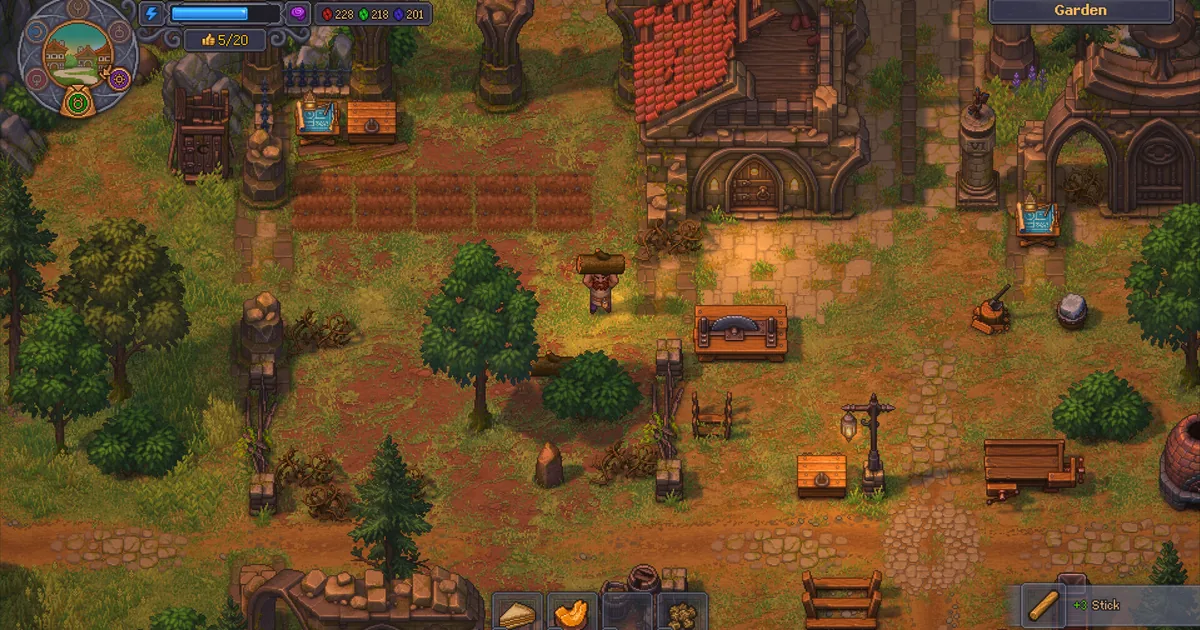
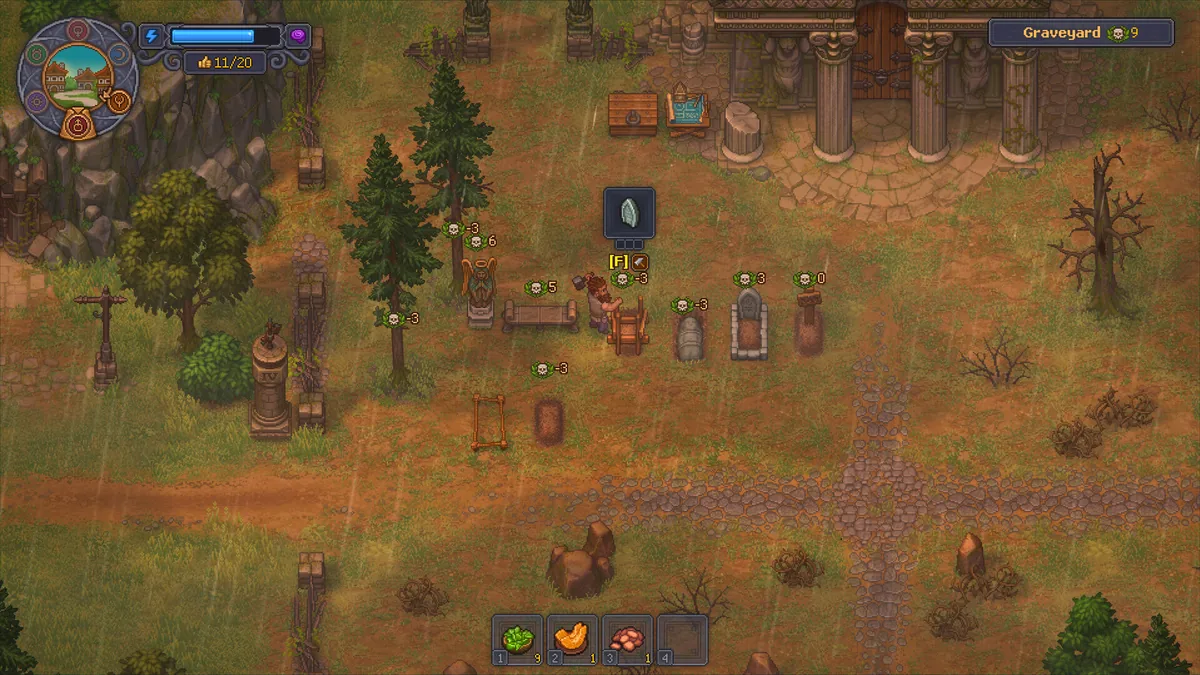 This official screenshot is a graveyard management scene rather than a battle. It is a useful reminder that army preparation still sits on top of the Keeper's original cemetery work.
A Practical Army Preparation Loop
The safest army plan follows the same logic as the factory plan: prepare around confirmed objectives, then verify the missing numbers in your current build.
Start by watching the calendar and keeping a reserve of materials before the Town battle day arrives. The official post confirms the cadence but does not publish a complete list of costs for every barricade, tower, weapon, or potion. Reserve what the live build asks for rather than copying a number from a preview.
Next, decide whether the arena wants a static defense or an active push. Town Square's multi-directional waves suggest that coverage and response time matter. A central-street fight with control points suggests that a squad parked in one corner may not answer the real objective. Those are direct tactical implications of the official arena descriptions, not claims about hidden enemy stats.
Then choose a command style. Position zombie fighter squads if you want the defenses to carry more of the workload. Raise the banner and lead if the scenario rewards direct intervention or if you need to react faster than a parked squad can. The source confirms both options, so the first decision is about the arena objective, not about a universal army tier.
Finally, treat the first battle as information. Note which direction creates pressure, which objective ends the fight, and which tools the game actually lets you place. A launch guide can responsibly recommend this observation loop. It cannot responsibly turn one early encounter into a complete roster table when the official sources do not provide one.
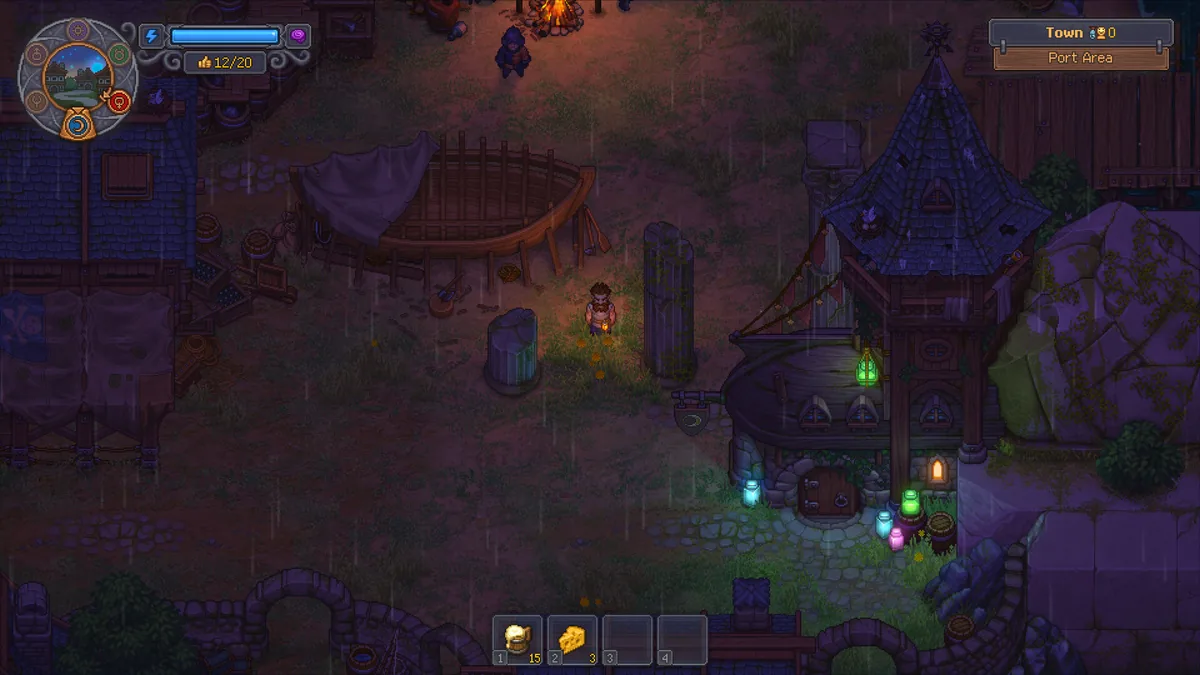 The Port Area screenshot shows the restored Town as a living place, which is the larger destination behind factory output and defensive preparation.
GODEEPER: For another automation game where defensive choices and production routes compete for the same space, see our All Hail the Orb advanced automation guide.
Tips for the First Launch Session
The best early tips are the ones that survive an incomplete recipe database. Use one lane to learn the factory. Keep an emergency manual route. Watch where outputs accumulate. Expand after a visible bottleneck. On the army side, keep the battle schedule in mind, reserve construction materials, and read the arena objective before you decide whether squads or a banner fit the situation.
Do not spend every flexible material on decoration before checking whether a Town restoration or defense task needs it. The store pitch connects production, restoration, and battle, so a resource that looks like a simple crafting input may later support a more important branch. This is a prioritization principle, not a hidden recipe claim. The Fields of Mistria review and its seasons and festivals guide are useful reminders that calendar pressure can change the value of a resource even in a gentler management game.
Do not build a wall of belts just because the screenshot looks impressive. The official image proves that the Town Workshop can hold a multi-machine layout. It does not prove that maximum density is efficient. A small factory with accessible storage is easier to debug, easier to expand, and less likely to hide an empty input behind a decorative arrangement.
Do not treat the number of zombies mentioned in the combat post as a roster size. The developer says the course of the game contains a little over 4,000 zombies, but that is a broad world figure, not a published recruit count or an army cap. Keep that number as context, not as a build target.
What Is Not Confirmed Yet
This section is the guardrail. The official launch sources confirm enough depth for a real guide, but they stop short of the data needed for a fully numerical optimization guide.
The following details are not established by the official sources used here:
- The exact production recipe and station prerequisite for every conveyor-belt chain.
- The exact condition for recruiting or assigning each zombie worker.
- Whether zombie quality, mastery, tools, or station level changes output speed in a universal way.
- The maximum number of fighters in a squad and the full named army roster.
- The exact Town battle weekday, reward table, enemy health values, and arena-specific thresholds.
- The exact keyboard or controller mapping for squad commands and banner control.
If a community guide publishes those details after the launch build has settled, cross-check its version and source before relying on it. Until then, the reliable authority is the live in-game tooltip plus official patch notes. A shorter accurate guide is more useful than a complete-looking table built from demo assumptions.
Common Mistakes
The most common automation mistake is scaling before observing. A second or third branch does not fix an unknown input. It multiplies the number of places that can stall. Build one lane, watch it complete, and expand from the bottleneck.
The most common army mistake is preparing a composition before reading the objective. A wave defense, a multi-front street, and a control-point push ask different questions. The official combat notes deliberately describe several arena types, so do not bring one formation to every fight by habit.
The most dangerous research mistake is treating early community data as official release truth. The game is only a day old at this research point. Demo-era worker requirements and fan-wiki labels may be useful leads, but they are not enough to support a hard claim about the launch build. Check the current menu and update notes first.
Frequently Asked Questions
How does automation work in Graveyard Keeper 2? Official launch material confirms machinery, conveyor-belt factories, and zombie-based production. The live sources do not publish every station recipe or worker requirement, so use the in-game tooltips for exact chains.
Are conveyor-belt factories new to Graveyard Keeper 2? Yes. A developer Steam post describes conveyor-belt factories as one of the sequel's completely new mechanics, alongside zombie battles.
When do Town battles happen in Graveyard Keeper 2? The official combat post says city battles happen on a certain day of the week, while the sewers are available on all six days. The post does not publish a full unlock calendar.
Can you control zombie squads in Graveyard Keeper 2? Yes. Official combat notes describe positioning zombie fighter squads, raising a banner to lead them, and defending Town arenas with structures such as barricades and towers.
What is the best zombie army composition? There is no authoritative launch roster or balance table yet. The official examples include all-archer squads, but they do not establish a universal best composition or publish squad limits.
Does Graveyard Keeper 2 have exact automation recipes? The Steam store and developer posts confirm the system's structure but not a complete recipe database. This guide avoids invented station prerequisites and recommends checking each live in-game requirement.
How should I prepare for a Town battle? Keep the production line running, reserve materials for defensive construction, build barricades or towers, and decide whether to position squads or lead with a banner. The official combat post confirms those tools but not hidden stat thresholds.
Related Reading
- Graveyard Keeper 2 Review: A Bigger, Stranger Keeper: our launch review covers the sequel's Town restoration, new automation, undead battles, and early Steam reception.
- Shapez 2 Advanced Automation Guide: a deeper logistics reference for belt routing, splitting, and throughput planning.
- All Hail the Orb Advanced Automation Guide: another production-focused guide with defensive choices competing for the same space.
- Best Base-Building Colony Sims: a broader comparison for players deciding which settlement-management loop to learn next.
References
- Graveyard Keeper 2 on Steam - official store description, factory framing, Town systems, and current platform details
- Graveyard Keeper 2 official Steam announcements - launch posts, combat development, and patch-day updates
- Let's talk Combat - official Town arenas, weekly battle cadence, defensive structures, squads, banners, and controls
- The Old World - official development post identifying zombie battles and conveyor-belt factories as new mechanics
- Lazy Bear Games: Graveyard Keeper 2 - developer overview of automation, fortifications, armor, and zombie troops
- Graveyard Keeper 2 is OUT NOW on PC, PlayStation, Xbox and Nintendo Switch - official tinyBuildGAMES launch video
Was this guide helpful?
About the author

Critical game theorist with a background in film criticism. Writing for print and digital outlets since 2015. Specialises in genre analysis and design heritage.
- Background in film criticism
- 10 years games coverage
- Genre theory and design history specialist
Keep reading



Disclaimer
This article is published for informational and entertainment purposes. It does not constitute professional financial, legal, or technical advice. Game performance, online services, patch schedules, and store listings change. Verify critical details (pricing, system requirements, regional availability) with publishers and storefronts before you buy. Affiliate links, where present, help support our editorial work and are labelled in our affiliate disclosure.
Comments
Loading comments…